Automatic measurement & evaluation of turbine engine components
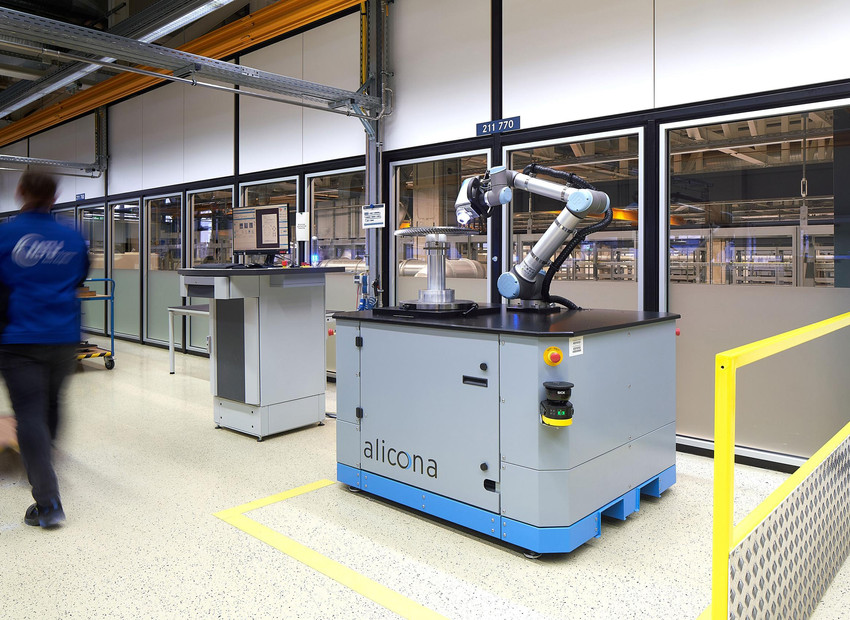
The automatic measurement and evaluation of radii, chamfers and break edge on turbine engine components is one of many criteria in modern quality assurance at MTU Aero Engines. Currently three Cobot systems from Bruker Alicona are in use for break edge measurement. On top, the optical measuring solutions replace labor intensive replica techniques and tactile methods in defect measurement.
Michael Duffek
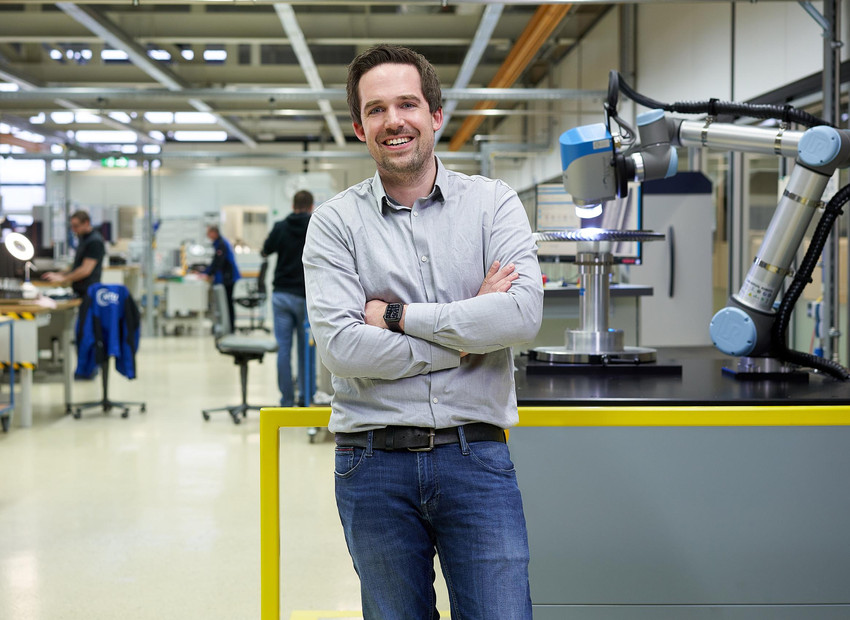
Inspection Planner at MTU Aero Engines, responsible for quality assurance of turbine engine components
Using optical measurement technology we are faster, more accurate and, above all, process-capable. With Bruker Alicona we can also measure automatically in a CNC process.
READ THE ENTIRE SUCCESS STORY
Automated measurement and evaluation of edges, radii and chamfers
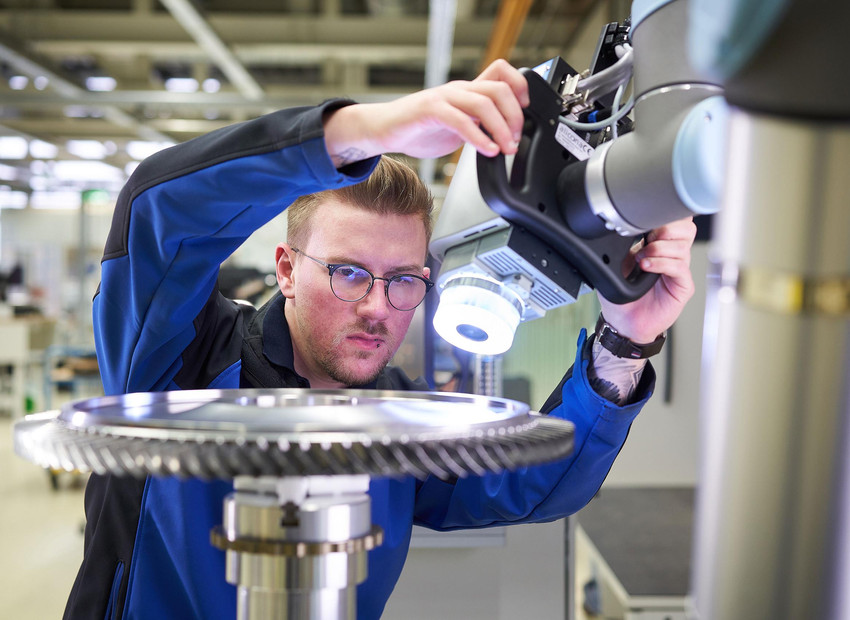
"If there's a burr, this could become a danger point in the engine." Inspection planner Michael Duffek is jointly responsible for quality assurance of turbine engine components at MTU Aero Engines. For the world-renowned manufacturer of aero engines, the automated measurement and evaluation of edges, radii and chamfers of engine components is an important part of modern, state-of-the-art measurement technology. Highly specialized components such as turbine blades, turbine discs or blisks (Blade Integrated Disk) are measured, and they involve a number of metrological challenges. These include, for example, the complex geometry with steep flanks as well as varying reflection properties of the components. Different surface reflections occur due to varying manufacturing processes, as surfaces to be measured are either coated, and thus matt, or ground, and thus highly reflective. For a suitable measuring system, this means that it must not only offer the required automation options including standard-compliant evaluation, but must also be able to measure complex, difficult-to-access geometries with tight tolerances and matt to reflective surfaces in high resolution and repeatability.
Integration into a production process
A further requirement is the integration into a production process including integration into the existing IT environment. "And the whole thing has to be fast and straightforward," Michael Duffek adds to the list of criteria MTU uses as a basis for continuously evaluating its measurement equipment suppliers. As a result, there are now 15 Bruker Alicona measurement systems in use at MTU locations worldwide, 11 of which are located at the test centers of the German headquarters in Munich. This is also where the automated measurement of turbine engine components takes place, which are implemented with measuring equipment from the Bruker Alicona Cobot line.
How MTU Aero Engines succeeds with Bruker Alicona solution
Cobot series
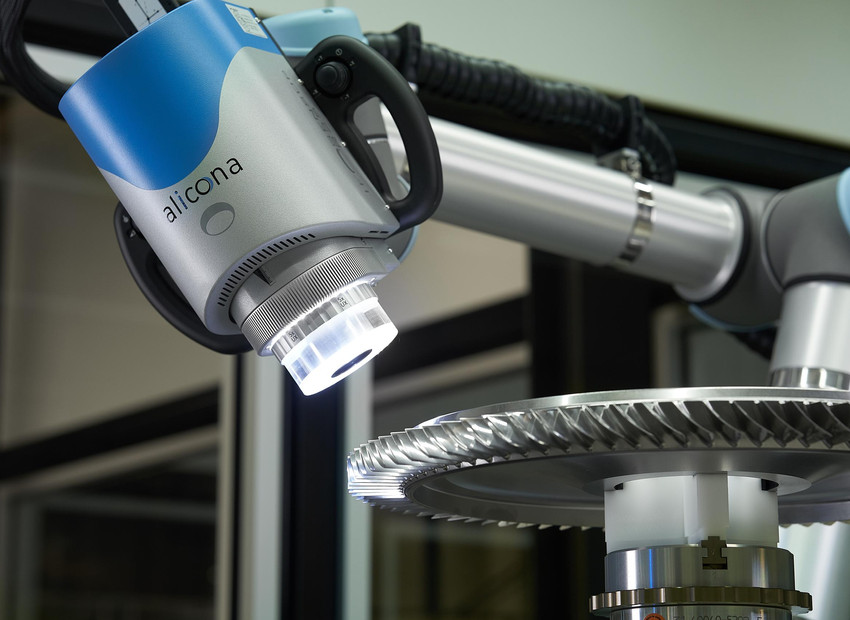
Optical measuring sensor & collaborative robot
- Verification of surface quality & dimensional accuracy of small features on large components in existing production environments
- Easy teach-in of measurement series: no prior knowledge of metrology necessary
- High mobility & flexibility: Measurement of components directly in the machine tool

