Non-contact Measurement: Optical Metrology & Dimensional Metrology
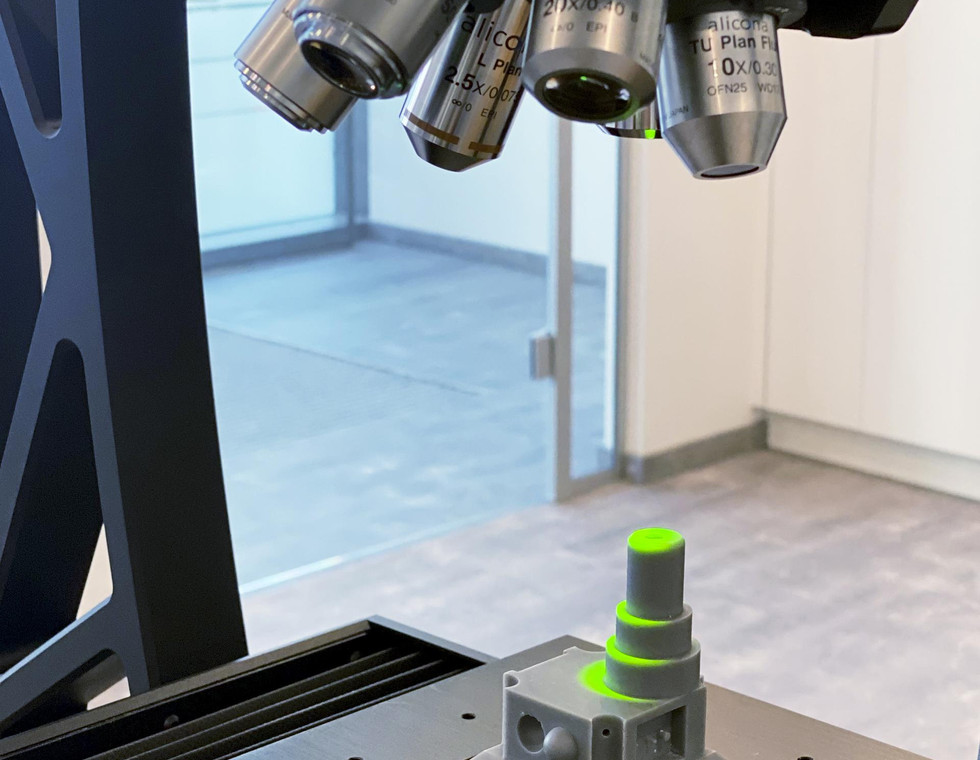
Optical metrology enables precise and non-contact measurement of components. With the help of light, information about the shape and roughness of surfaces and geometries can be captured and analyzed. Its broad range of applications and robust design make it an excellent choice for industrial quality assurance. With optical metrology from Bruker Alicona, you are able to perform complex measurement tasks in production. The measuring instruments combine the advantages of Focus-Variation technology with user-friendly software and a robust design, making them an excellent choice for industrial applications.
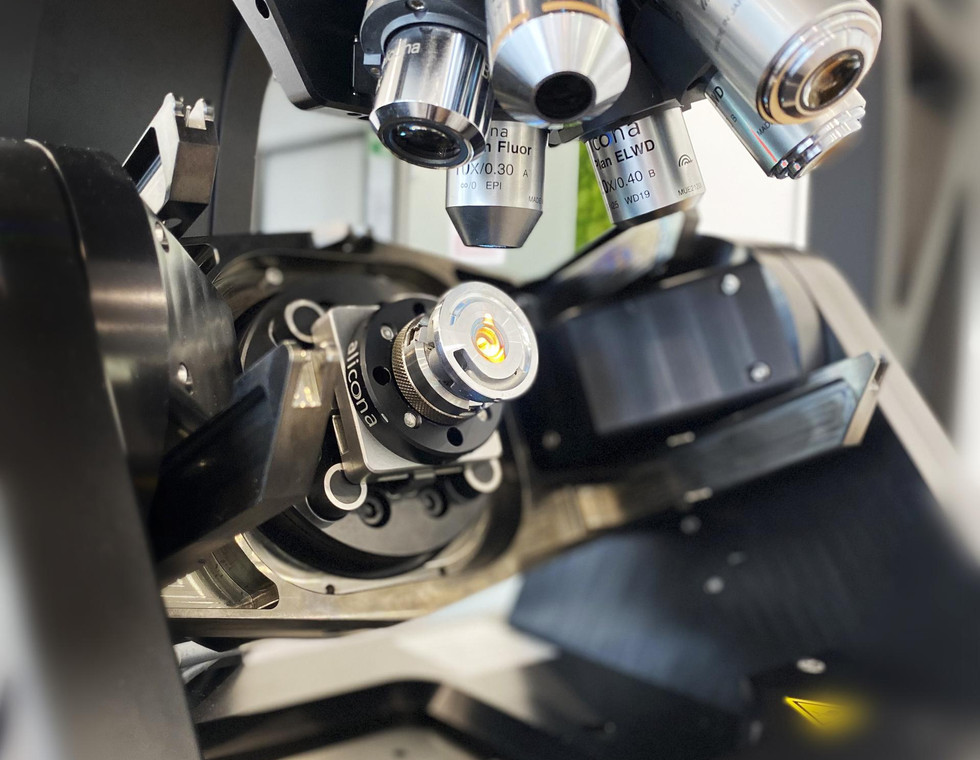
The optical 3D measuring machines from Bruker Alicona also enable the lateral probing of your components and thus the non-contact measurement of vertical flanks with more than 90°. This not only offers you a comprehensive analysis of the component geometry, but also fast, automated and traceable measurements of your components, perfectly adapted to the requirements of precision manufacturing.
Why optical metrology?
The advantages of optical metrology are clear: While probes that travel over the surface can leave damage, the components measured without contact remain completely undamaged.
Traditional roughness measurement systems struggle with narrow valleys due to the diameter of the probe, whereas optical measuring devices precisely capture even the finest depths on the surface.
dieSonne-(3)-659x439.jpg)
Optical dimensional metrology
Bruker Alicona optical dimensional metrology enables the measurement of dimension, position, shape and roughness of components with one optical sensor. It closes the gap between classical dimensional metrologyy and surface roughness measurement. This combination is used in all areas of precision manufacturing, from aerospace and medical technology to the automotive industry. Precise measurement results not only ensure compliance with strict quality standards, but also optimize your production processes in the long term. Dimensional metrology offers faster, more accurate measurements and can be easily automated. By integrating it into your manufacturing processes, you can improve efficiency and significantly reduce scrap rates.
Advantages of optical metrology & dimensional metrology?
- Dimension, position, shape and roughness with just one optical sensor
- Measurement of vertical surfaces > 90°
- Fast measurement of critical components
- Small radii and angles also at large measuring volumes
- Steep flanks & components with varying reflective properties (polished, shiny surfaces)
- Components with different surface finish or coating
- Profile based and area based surface roughness parameters
- Easy-to-use software, fast processing and accurate measurements
- Full form measurement
dieSonne-107-659x439.jpg)

dieSonne-web-(123)-2000x857.jpg)
dieSonne-web-(123)-2000x3000.jpg)
dieSonne-web-(123)-2000x2000.jpg)


