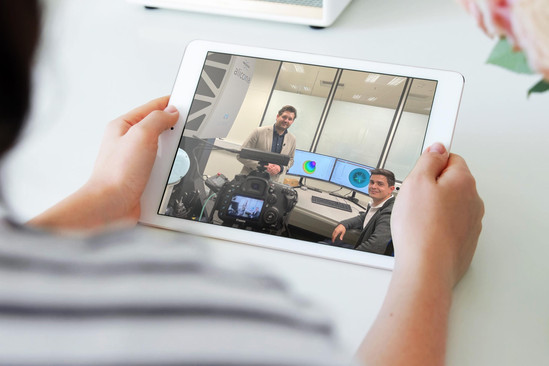
3D Measurement of a Laser-Machined Component with Steep Flanks
Find out how quality assurance of a laser-machined component works at United Machining Solutions in our new measurement report. The component has complex geometries, steep flanks, and a defined edge radius and was manufactured using state-of-the-art laser texturing and laser micro-machining technology. These technologies not only enable precise structuring and miniaturization, but also contribute to innovation, product acceleration, and sustainability in manufacturing.
GF uses Bruker Alicona's optical coordinate measuring machine µCMM for quality control - equipped with Real3D rotation unit and intelligent MetMaX measurement software. The µCMM delivers fast, precise, and traceable measurement results - making it ideal for the reliable inspection of complex geometries and finely structured surfaces on laser-machined components.
GF uses 2 innovative Bruker Alicona technologies:
- Advanced Focus-Variation for full 3D surface measurement
- Focus Probing for high-resolution contour scanning of the laser-etched µ-mark
Thanks to the smart measurement software MetMaX, the measurement process is set up in just 3 steps:
- Virtual clamping on CAD
- Definition of measurement positions
- Finished 3D data
Take advantage of this insight into the world of high-precision measurement and see how you can achieve repeatable results for complex component geometries – quickly, efficiently, and automatically.
👉 Download the measurement report now and benefit from smart, automated metrology!

Laser-machined demo component of United Machining Solutions


