The trend towards miniaturization and the increasing use of high-precision components with tolerances of a few µm pose great challenges for manufacturing companies. Vivian Schiller and Daniel Gauder are PhD students at the wbk Institute of Production Science at KIT. For the international dental product manufacturer Dentsply Sirona, they are researching intelligent quality control loops, measurement technology (in-line and in-process), and component pairing strategies for the production of high-precision components. Their clear goal is to create quality control loops in the sense of closed loop manufacturing. Thus, the integration of in-line metrology into production systems improves product quality and increases efficiency in production.
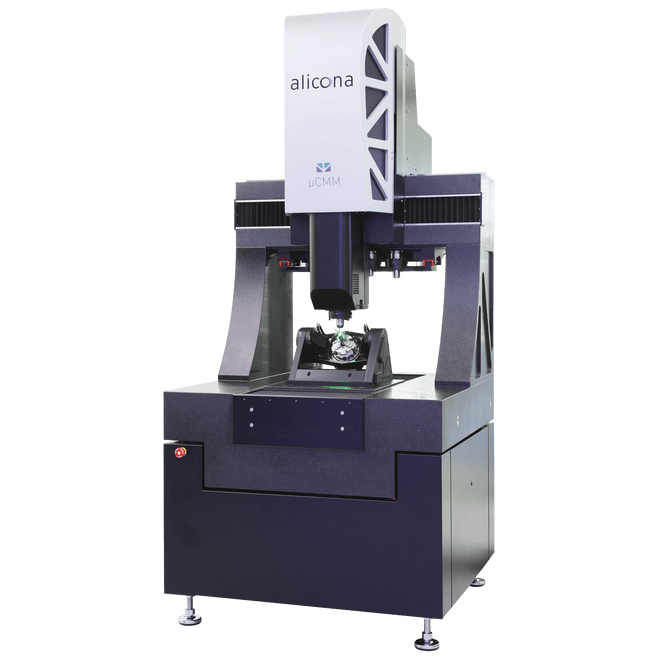
The BMBF (German Federal Ministry of Education and Research) is funding this project as part of its photonics program, which includes testing the suitability of Bruker Alicona's µCMM optical coordinate measuring machine in the aforementioned environment.
Reduced vibration of dental instruments
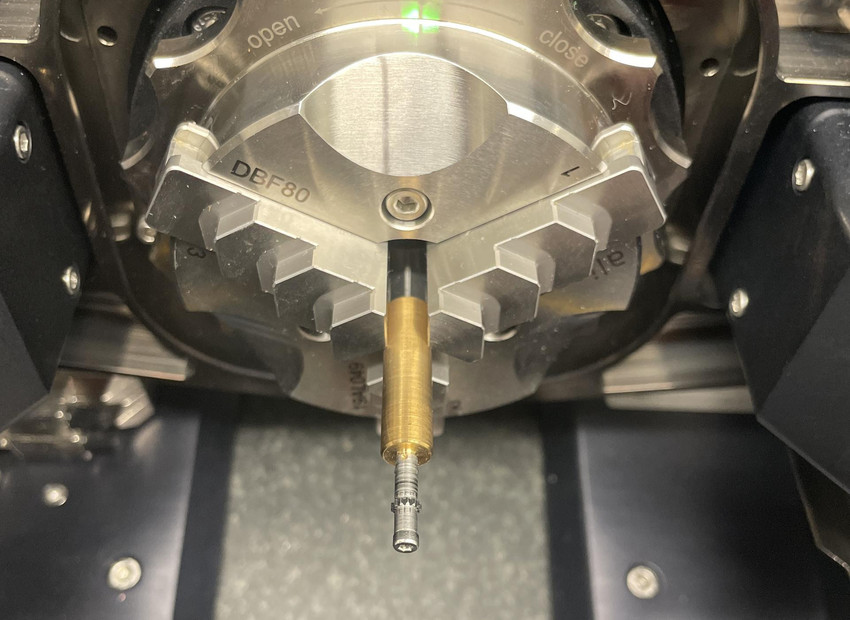
After the initial installation at the KIT institute, the µCMM was integrated directly into Dentsply Sirona's production environment on the shop floor. "As part of the ProIQ project, we measure the surface topography of micro gears with involute profiles in the module range smaller than 0.3, focusing on the tooth flanks. Geometric parameters are then extracted from the captured point clouds. In addition, we derive function-oriented parameters, such as the rotary path deviation, from the point clouds," explains Vivian Schiller. Smallest possible deviations lead, for example, to reduced vibration of dental instruments - which benefits dentists and patients alike.
Attention must be paid to the surfaces of the metallic components due to reflections, but also to their steep flanks. Vivian Schiller: "The tooth root area poses the greatest challenge, since the opposing flanks of a tooth space converge in this area."
Low measurement uncertainty and short measurement times
In order to find the right measuring system for this task, other systems were also considered during the project preparation phase. In general, various criteria – such as measurement speed, measurement uncertainty, but also information density – play an important role in the field of microgear measurement technology. While tactile methods have been used for a long time with low measurement uncertainties, in-line integration in particular presents a challenge due to the filigree geometries. Volumetric measurement systems provide a high level of information and enable 3D acquisition even with undercuts. They also have a relatively high measurement uncertainty and require longer measurement times.
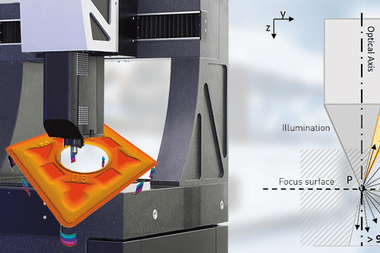
Finally, the µCMM scored with focus variation: "If the workpiece material is optically cooperative and undercuts are not considered reasons for exclusion, focus variation offers non-contact, two-dimensional measurement recordings with high measurement point density," says Vivian Schiller. When evaluating the different systems, particular emphasis was placed on a short measurement time and low measurement uncertainty.
Increased component quality with less scrap
Clear benefit of the measurements: Standard parameters (VDI/VDE 2612) and function-describing parameters (after single-flank rolling test VDI/VDE 2608) can be derived based on the measurement data recorded in-line. Sustainable quality improvements can also be achieved: Starting from the evaluated parameters, the hobbing process can be adaptively controlled, which means increased component quality with less scrap.
Artificial intelligence for function prediction of the entire product
In the future, the KIT research team would like to rely increasingly on artificial intelligence (AI). In addition to adaptive control of the hobbing process, a method for adaptive assembly of micro gears is being developed: Based on the measurement data and the features derived from the point clouds, AI models are to predict the function of possible microgear pairs. Subsequently, an optimization algorithm can enable the individual or selective assembly of the gears produced.
Inline capability as a prerequisite for closed loops
As the first purely optical coordinate measuring machine, Bruker Alicona's µCMM uses a single sensor to determine the dimension, position, shape and roughness of components, regardless of material and surface condition. Focus variation enables optical, high-resolution 3D surface measurement at the micro and nano scales, while Vertical Focus Probing, for the first time, allows the optical lateral probing of components (even with flanks greater than 90°) over their entire surface. Thanks to a number of system and technology features, integration into a closed-loop manufacturing strategy is possible: Robust technology combined with a stable, production-grade hardware setup of the measurement system as well as automation options enable repeatable measurements in production environments. This is complemented by simple, user-independent handling designed for operation on the shop floor. For the various automation options, the µCMM can be extended with a robot arm to pick up, place, measure and sort components. Thus, a complete automation process can be established within a short time.
Networks for self-optimizing production
The possibility of connecting the measuring system to existing IT systems and thus also implementing the concept of "machine to machine" communication rounds off the requirements profile regarding closed loop. Interfaces such as .net remoting and various connection options (e.g. QDAS) or a CAD CAM connection ensure networking and communication with existing production systems, machines and quality management systems.


