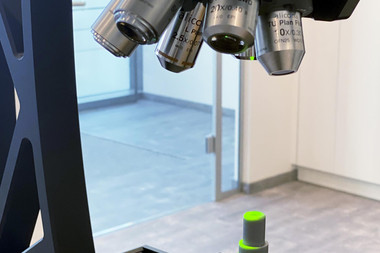
Optical 3D Measuring Device for Dimension, Position, Shape & Roughness
Imagine a system that solves all your measuring tasks - a device that measures dimension, position, shape, and roughness in high resolution, traceability, and high repeatability - with one optical sensor. Explore FocusX - the most versatile and fastest optical 3D measuring device in its class. From highly reflective surfaces to steep flanks and complex forms, the applications of FocusX are limitless. Small radii, acute angles, and tight tolerances pose no challenge for FocusX, even in high quantities.
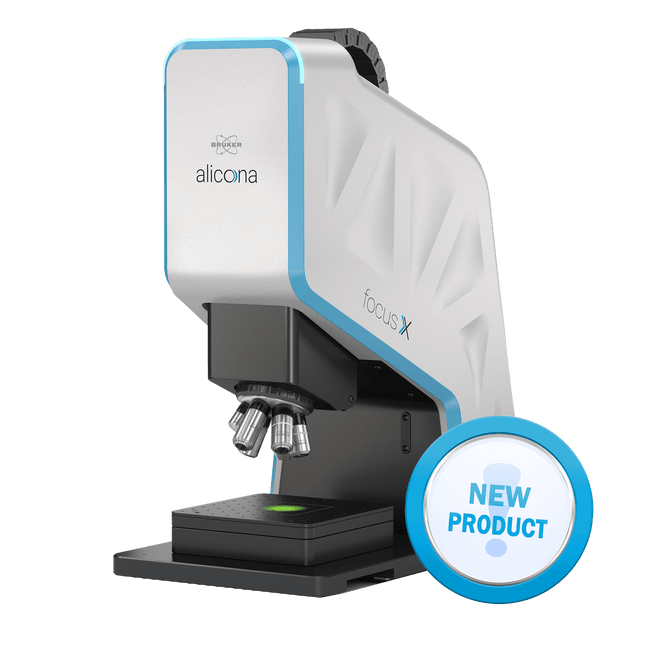
You Want to Learn More about FocusX?
Check out
6 Reasons Why to Choose FocusX
One Click Roughness
Fast, easy and ISO-compliant roughness measurement – even without expert knowledge.
See every Detail. Measure every Detail.
No detail is too small for FocusX to display, inspect, and measure in high resolution.
Unmatched Value
FocusX delivers category-leading measurement performance in a smart package.
Technical specifications
| Measurement Principle | Non-contact, optical, three-dimensional; Technologies: Advanced Focus-Variation, Vertical Focus Probing, Real3D |
| Positioning volume (X x Y x Z) | 200 mm x 200 mm x 180 mm = 7 200 000 mm³ |
| Positioning volume (R x T) | AdvancedReal3DUnit (optional): Motorized rotation: 360° / Motorized tilt: - 15° to + 90° |
| Objective name | 1900 WD30 | 800 WD37 | 800 WD17 | 400 WD30 | 400 WD19 | 150 WD11 | 80 WD4 | ||
| Working distance | mm | 30 | 37 | 17.5 | 30 | 19 | 11 | 4.5 | |
| Lateral measurement range (X,Y) | mm | 3.8 | 1.6 | 1.6 | 0.8 | 0.8 | 0.3 | 0.16 | |
| Measurement point distance | µm | 1.77 | 0.72 | 0.72 | 0.36 | 0.36 | 0.14 | 0.07 | |
| Measurement noise | nm | 80 | 40 | 15 | 20 | 5 | 2 | 1 | |
| Vertical resolution | nm | 250 | 130 | 50 | 80 | 30 | 15 | 10 |
| Objective name | 1900 WD30 | 800 WD37 | 800 WD17 | 400 WD30 | 400 WD19 | 150 WD11 | 80 WD4 | ||
| Min. measurable roughness (Ra) | µm | n.a. | 0.7 | 0.18 | 0.24 | 0.12 | 0.05 | 0.03 | |
| Min. measurable roughness (Sa) | µm | n.a. | 0.35 | 0.09 | 0.12 | 0.06 | 0.025 | 0.015 | |
| Min. measurable radius | µm | 12 | 5 | 5 | 3 | 3 | 2 | 1 |
How to Benefit from the Fastest &
Most Versatile Measurement Device in its Class
Non Contact Probing
Components with high-gloss surfaces, steep flanks, complex shapes - no problem for FocusX! The optical measuring device determines precise shape and position parameters as well as roughness data of the components (e.g. knee implants) in an automated, traceable and repeatable manner. And all of this is contactless, of course.
Proving Precision
Have you ever tried to measure the dimension, position, shape, and roughness of a milled and laser-machined component from machine tools like Kern Precision? Learn how the Vertical Focus Probing technology allows to laterally probe the sides of the workpiece, enabling also the measurements of holes and bores with a diameter-to-depth ratio of 1:3 to 1:10.
Access all Areas
In manufacturing, the 3D representation of components plays a crucial role. Imagine a measurement task on an electronic connector with a mating tab width of under 10 mm and a tab thickness under 1 mm. With Real3D technology, the component is measured from numerous perspectives, and the diverse visualizations are merged into a full 3D data.
As an experienced user of Bruker Alicona‘s measuring devices, I would say that FocusX is hardly inferior to the higher-priced devices. It is fast and precise, the decent measuring volume is sufficient for most applications and the compact design convinced me straight away.
See FocusX for Yourself
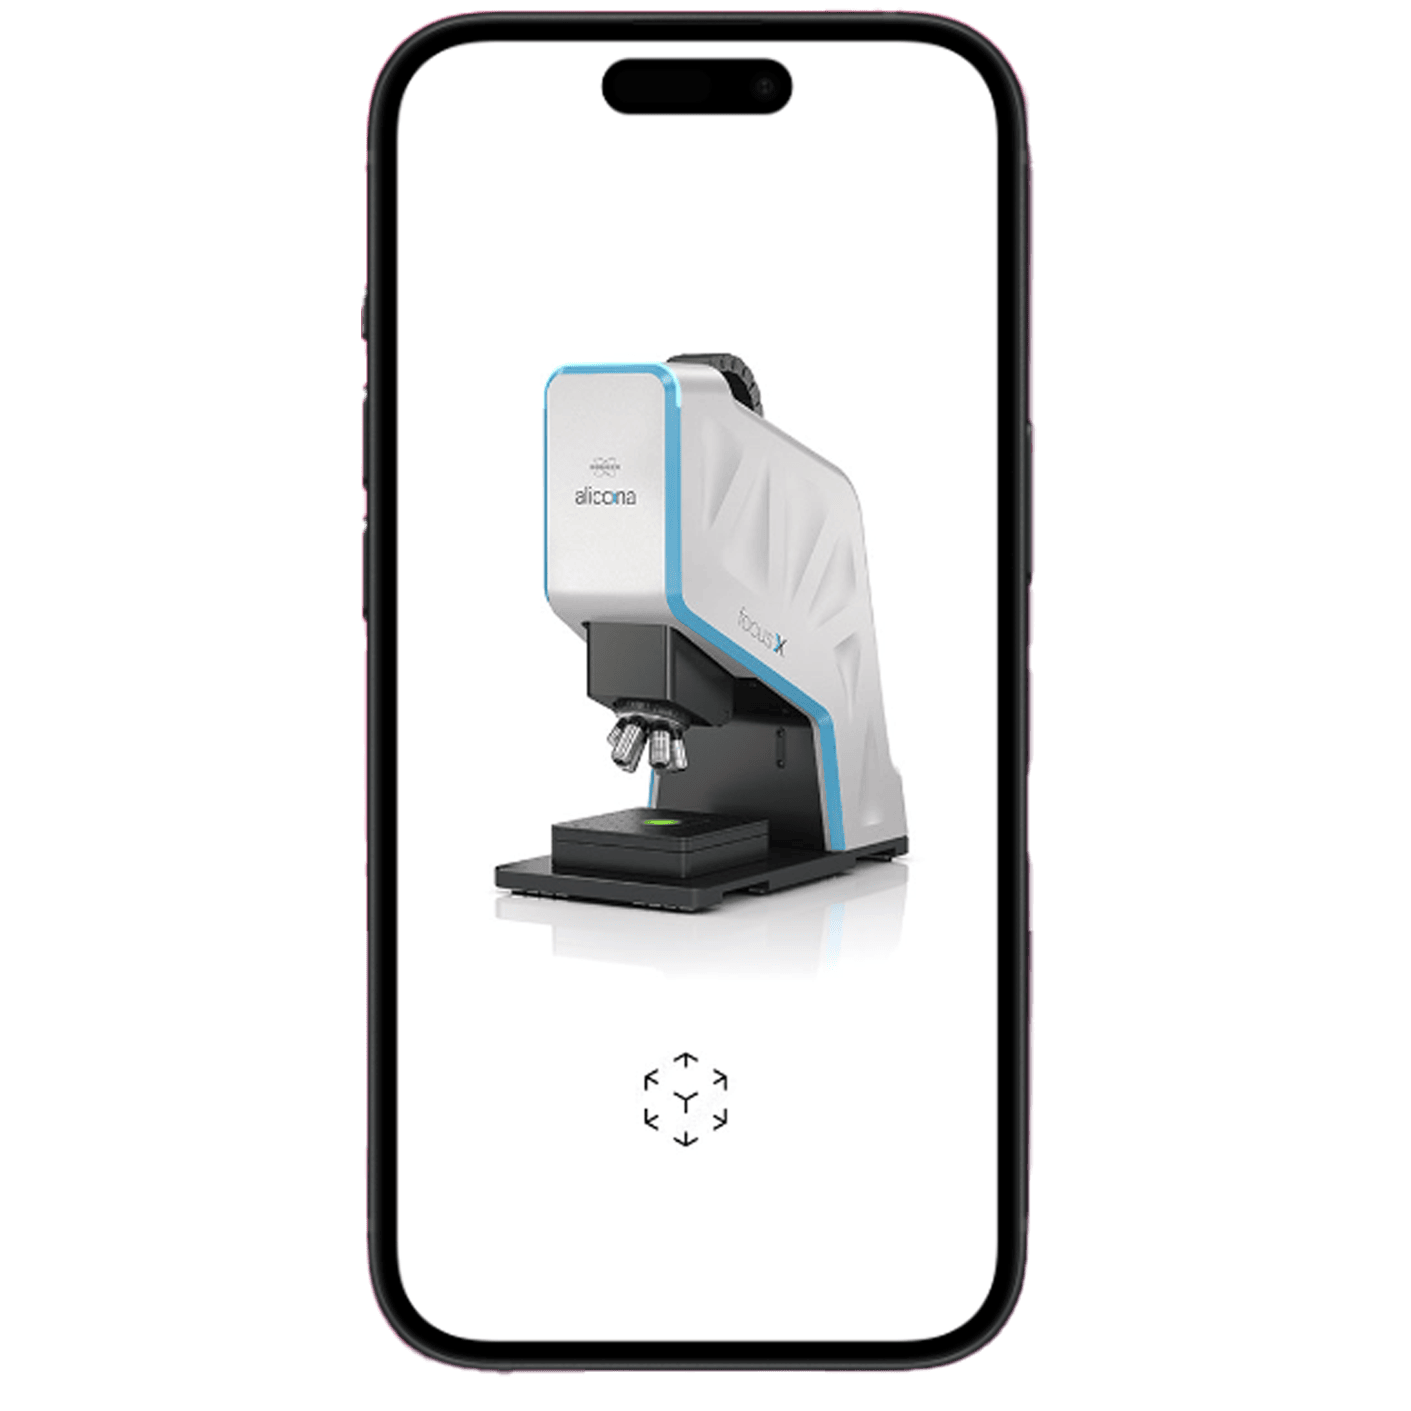
Use AR to view FocusX.
Download the files to view FocusX on your Desktop, Android or Iphone.

dieSonne-041-980x480.jpg)
-380x253.jpg)

