Measurement solution that is efficient and quick to implement
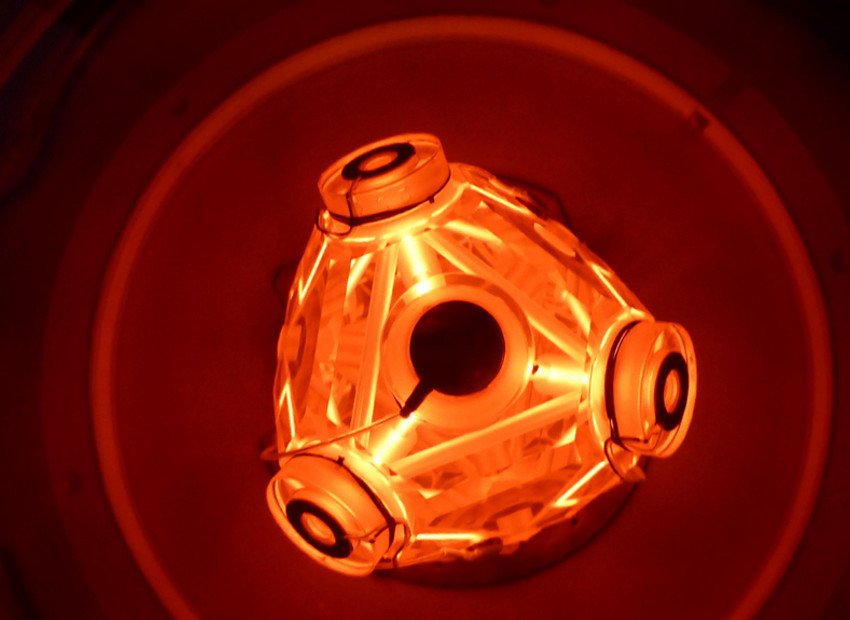
World-renowned for its industrial electronic solutions, Thales has an entity in the Avionics division that specializes in Navigation, located on several industrial sites, including La Brelandière in Châtellerault (France - Vienne 86). This site produces inertial systems for the aeronautics industry, a true Thales trademark. These systems, based on glass ceramic sensors called "gyrolasers", allow the position of the aircraft to be known without the help of GPS satellites.
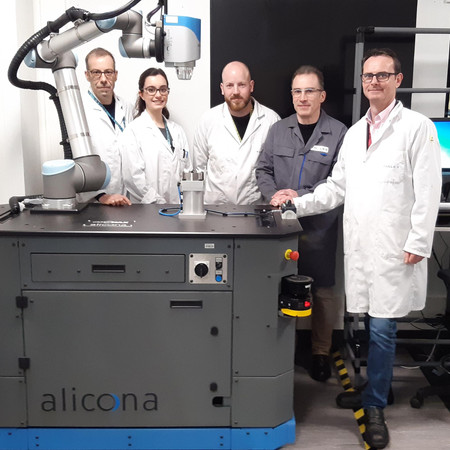
François Cuvillier
Head of the Gyrolaser product line for industrialization at Thales AVS
By measuring dimension, position, form and roughness with a single system, Focus-Variation bridges the gap between 3D coordinate measuring systems (CMMs) and conventional profilers.
READ THE ENTIRE SUCCESS STORY
Measure dimension, position, form & roughness with one single system
The "gyrolaser" components are manufactured by high-precision machining in a glass ceramic material block. This high-quality glass ceramic (identical to that used to make the mirrors of large telescopes) is not very sensitive to thermal variations and makes it possible to reach roughness levels of < 1 nm rms after super polishing.
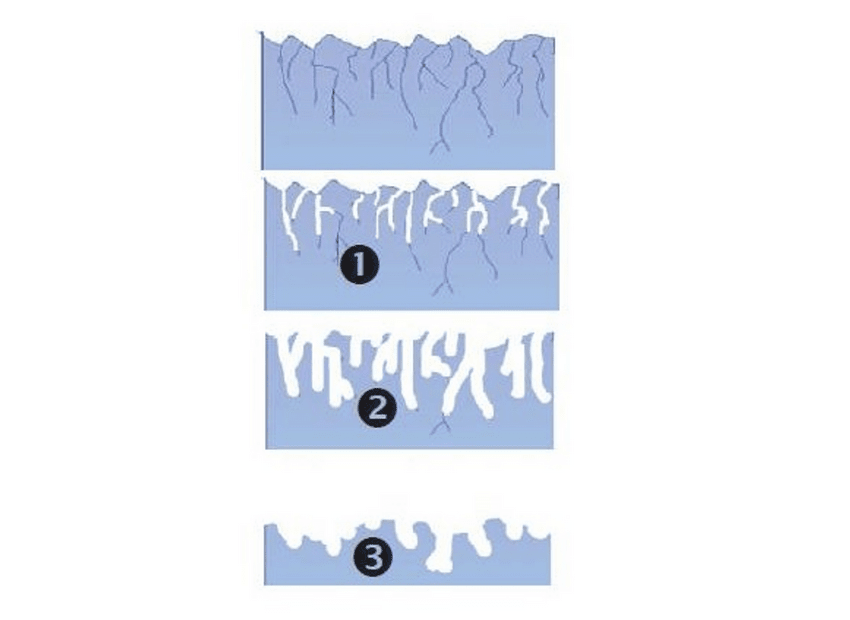
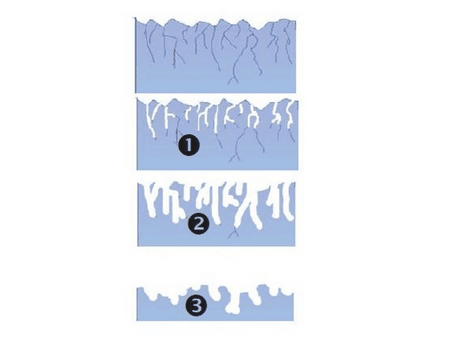
In order to reach these roughness levels, many refinement steps are necessary after machining the "gyrolaser". One of the key steps of the process consists in eliminating the SSD* resulting from the machining process by chemical etching on the parts [*SSD: Sub-Surface Damage, are micro cracks present on the surface and invisible to the contact profiler. These micro cracks are generated by the friction of the diamond tools on the glass ceramic].
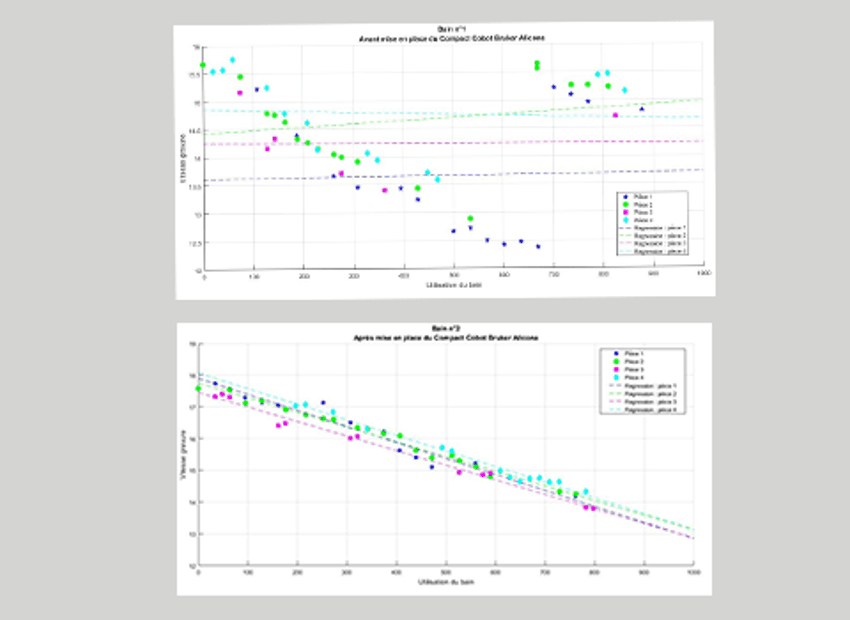
In order to correctly control the chemical etching process and the amount of material removed, it is necessary to precisely know the roughness of the workpieces after machining and before chemical etching. After evaluating the various technologies available, Thales selected Bruker Alicona as the only company capable of offering a solution that is both efficient and quick to implement. By measuring shape, size, position and roughness with a single system, Focus-Variation bridges the gap between 3D coordinate Measurement Systems (CMMs) and conventional profilers.
How Thales succeeds with Bruker Alicona solution
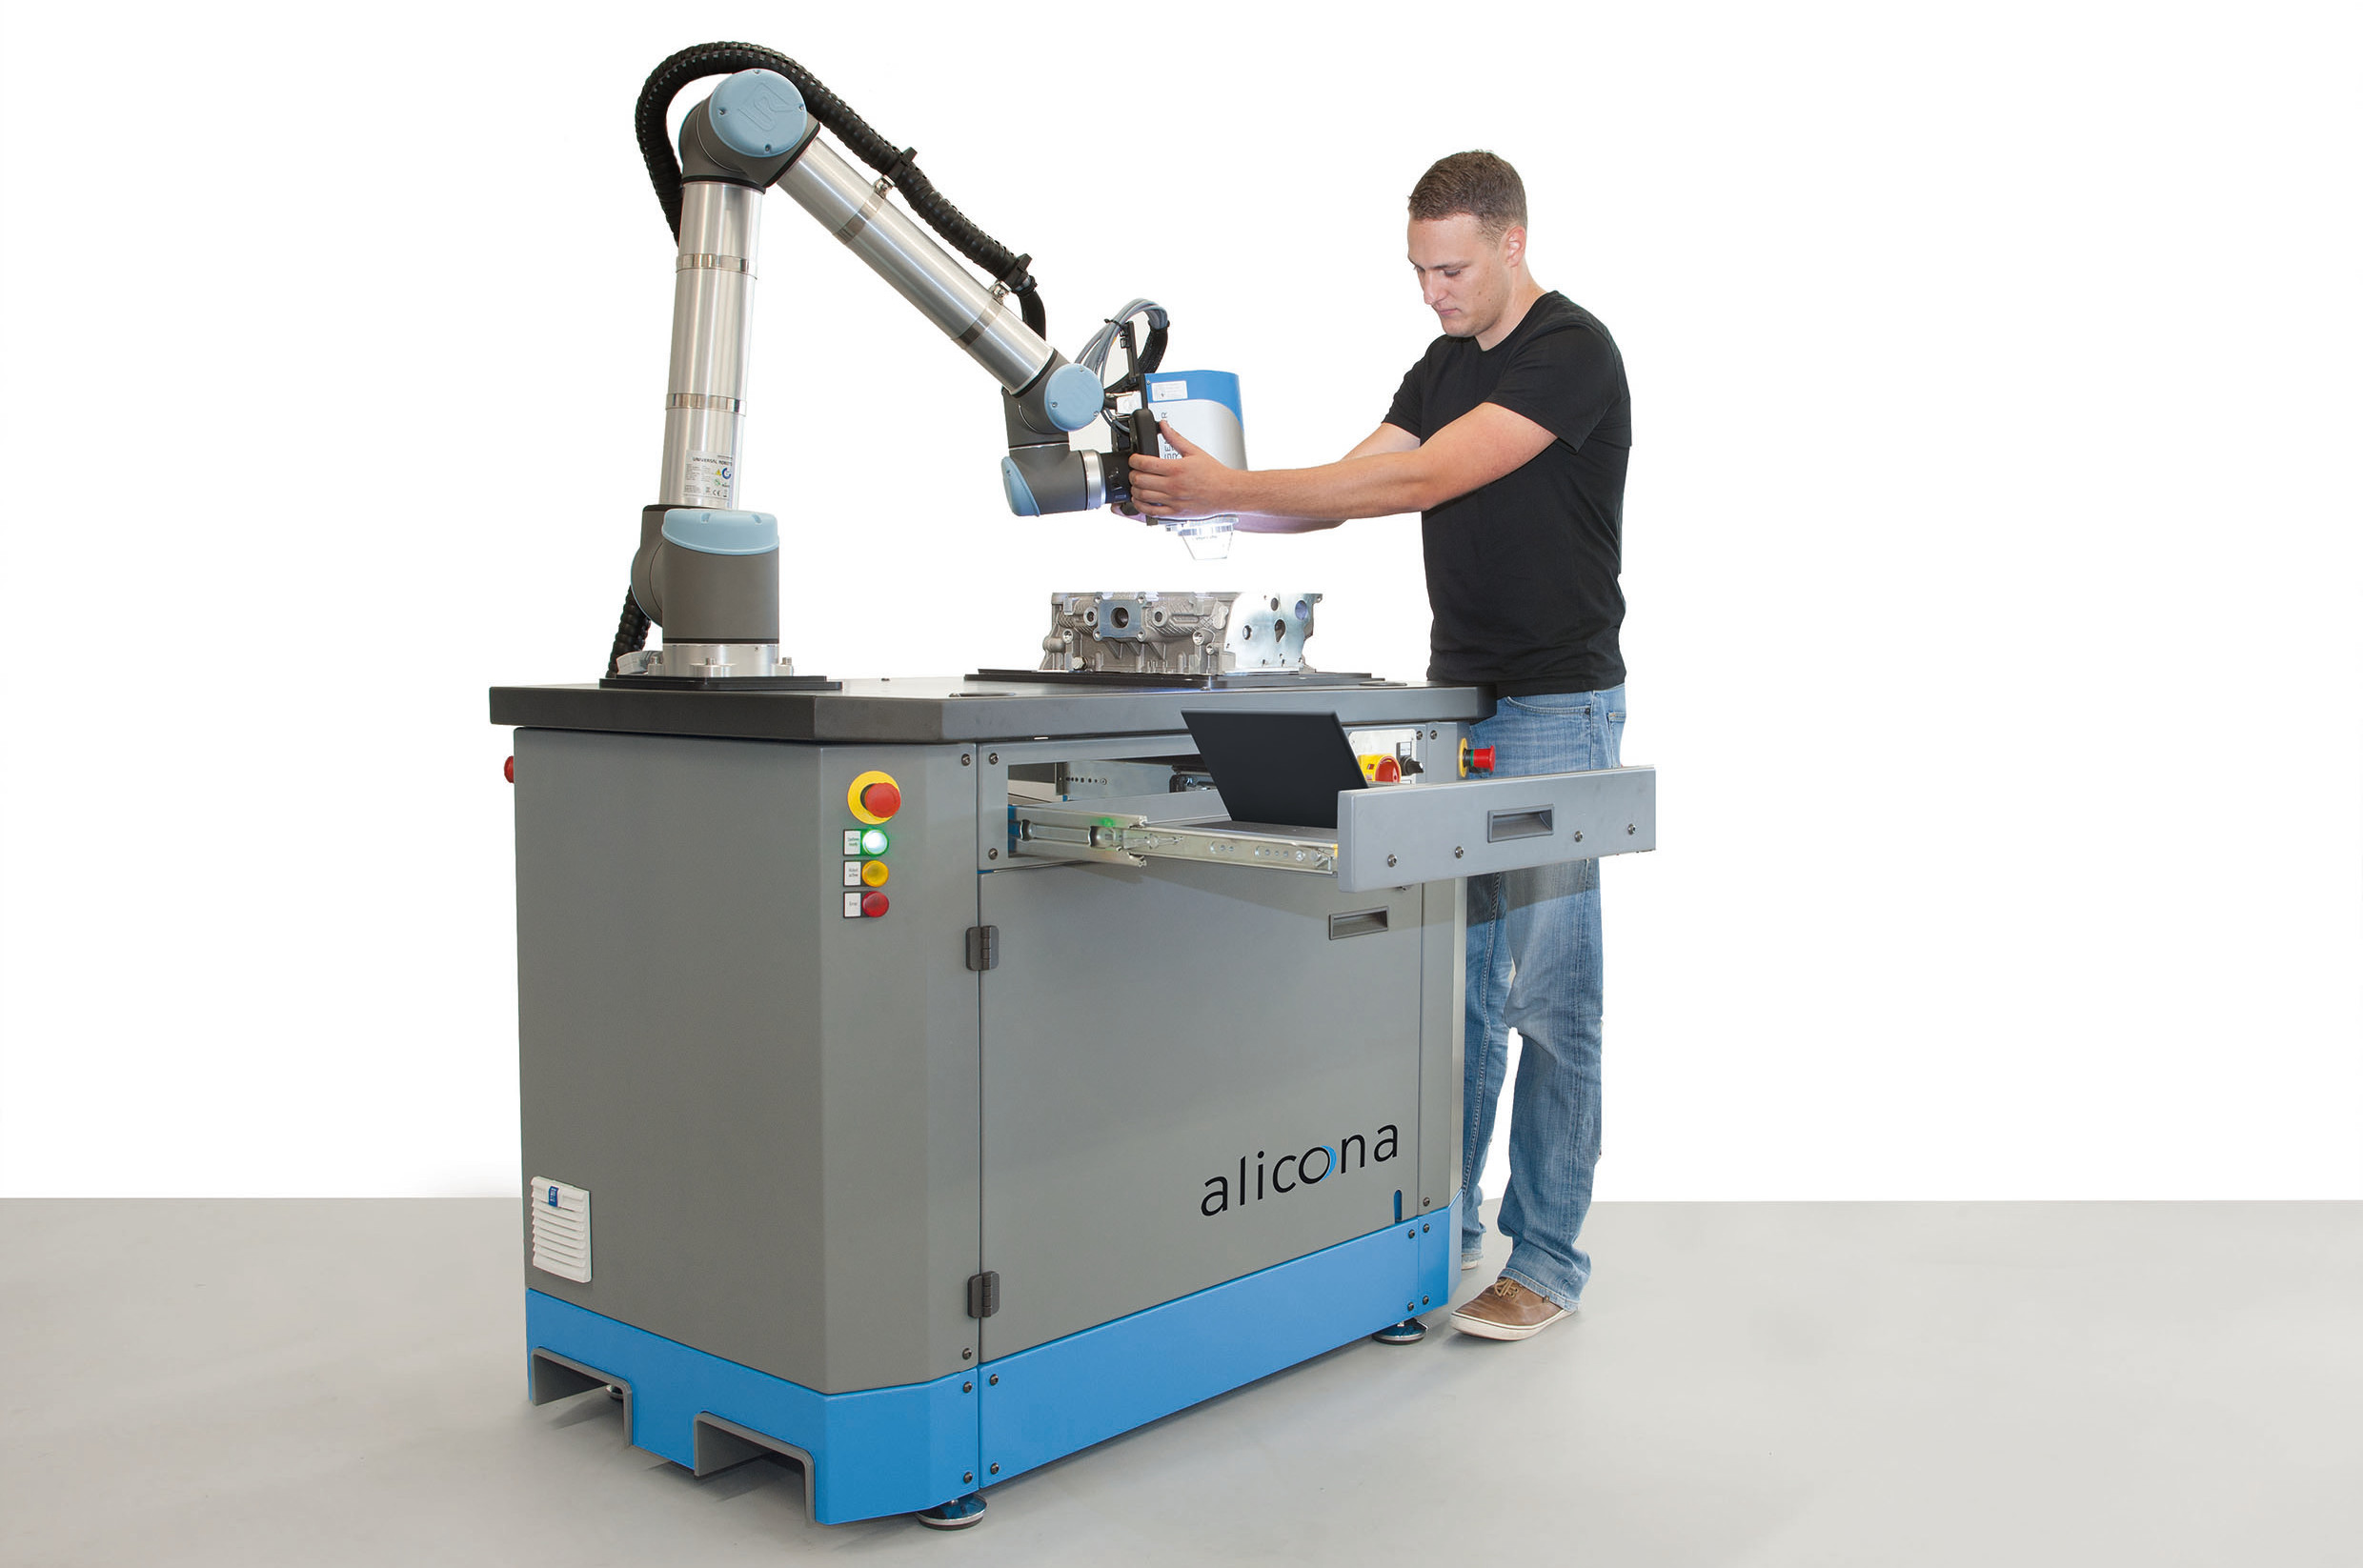
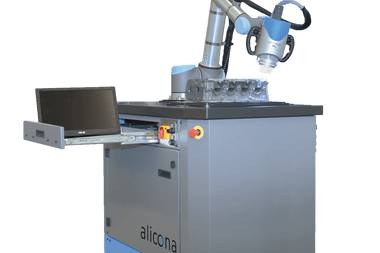
Cobot series
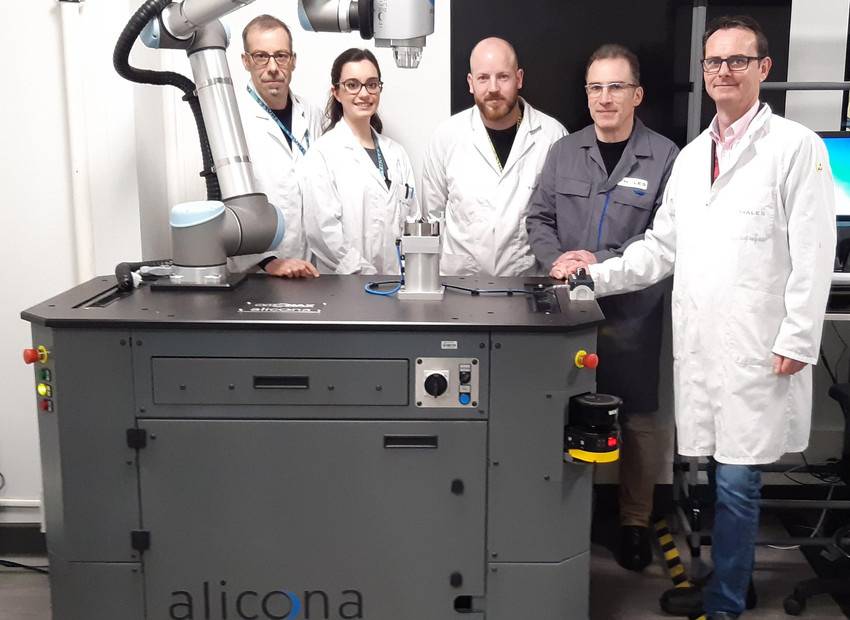
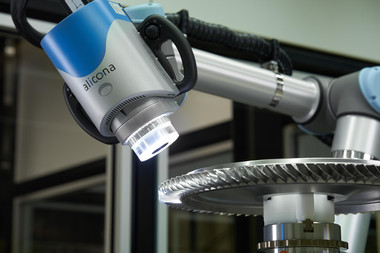
Optical measuring sensor & collaborative robot
- Verification of surface quality & dimensional accuracy of small features on large components in existing production environments
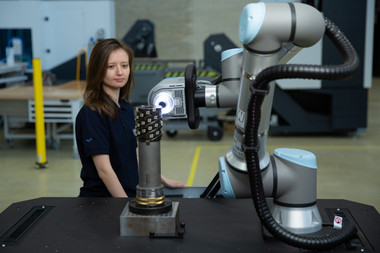
- Easy teach-in of measurement series: no prior knowledge of metrology necessary
- High mobility & flexibility: Measurement of components directly in the machine tool

