Quantification of waviness on gear tooth flanks with optical 3D metrology
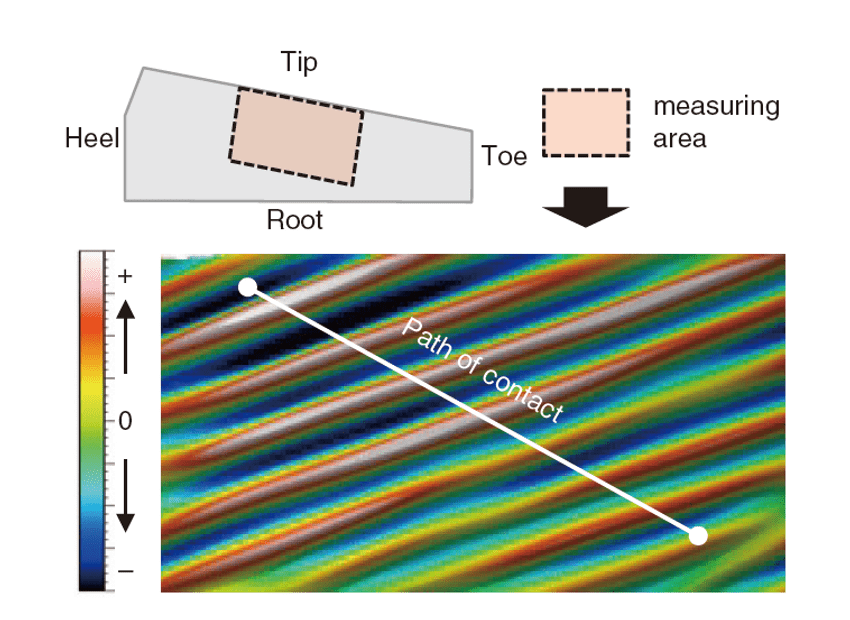
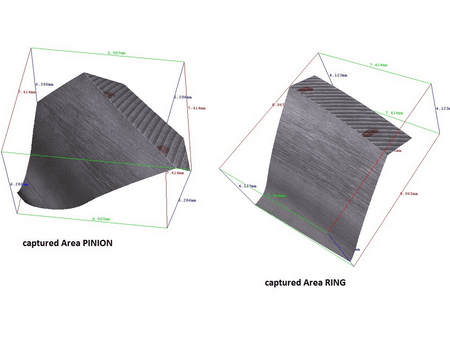
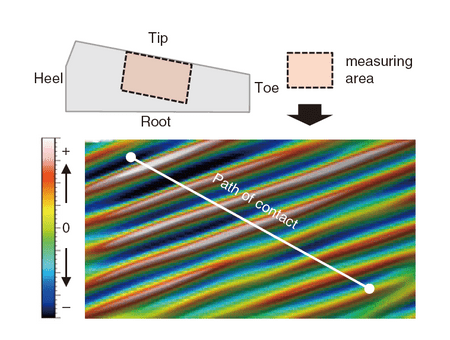
The waviness of a tooth flank can cause unpleasant noises in the interior of a motor vehicle. Using high-resolution and area-based measurement technology, Honda has succeeded in isolating and quantifying the waviness from the roughness on a flank. By applying Focus-Variation and frequency analysis methods, the Research & Development team was able to identify and successfully reduce disturbing noises.

Naoto Syukushima
Powertrain Prototyping Department
With InfiniteFocus we measure faster and get much more meaningful information. We have become much more efficient!
READ THE ENTIRE SUCCESS STORY
Elimination of unwanted gear noise
Modern driving comfort and a high noise level in the interior of a car are a contradiction. For the automotive industry, this means to avoid NVH phenomena ("noise, vibration, harshness”).
Disturbing noises may have their cause in a gearbox´s powertrain. Often, they can be traced back to the waviness on gear tooth flanks. This is why Honda uses an optical 3D measurement system to identify and measure the waviness on the flanks, enabling the global automotive manufacturer to optimize their manufacturing process of hypoid gears and, subsequently, to eliminate unwanted gear noise.
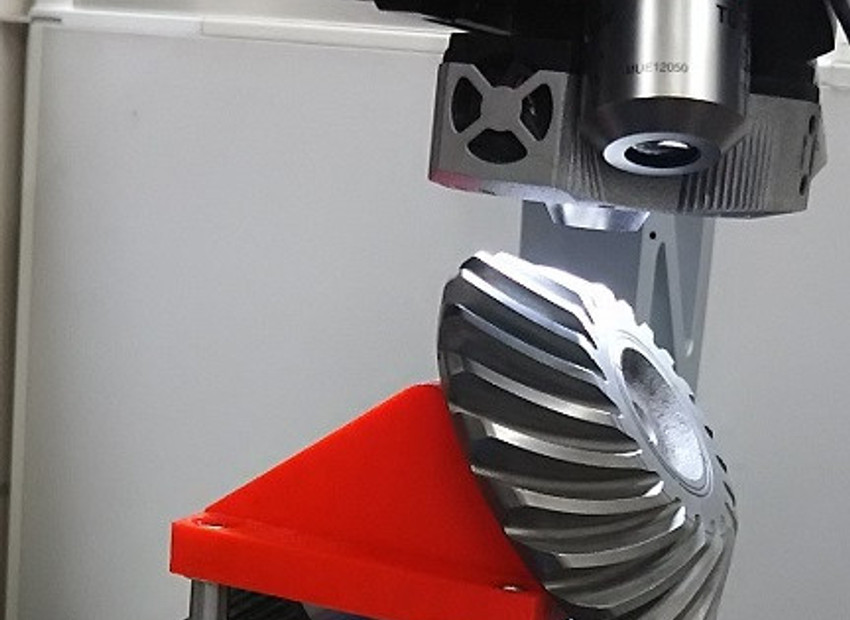
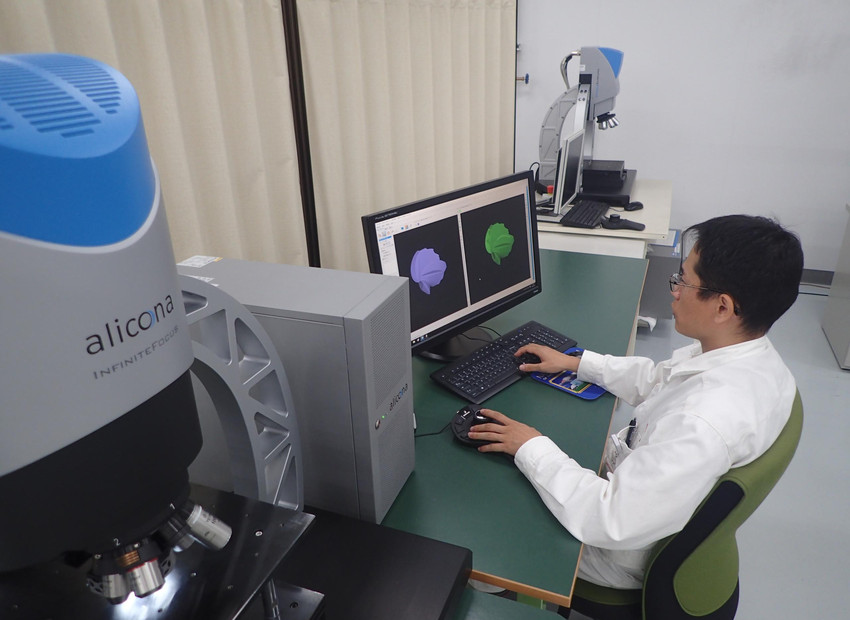
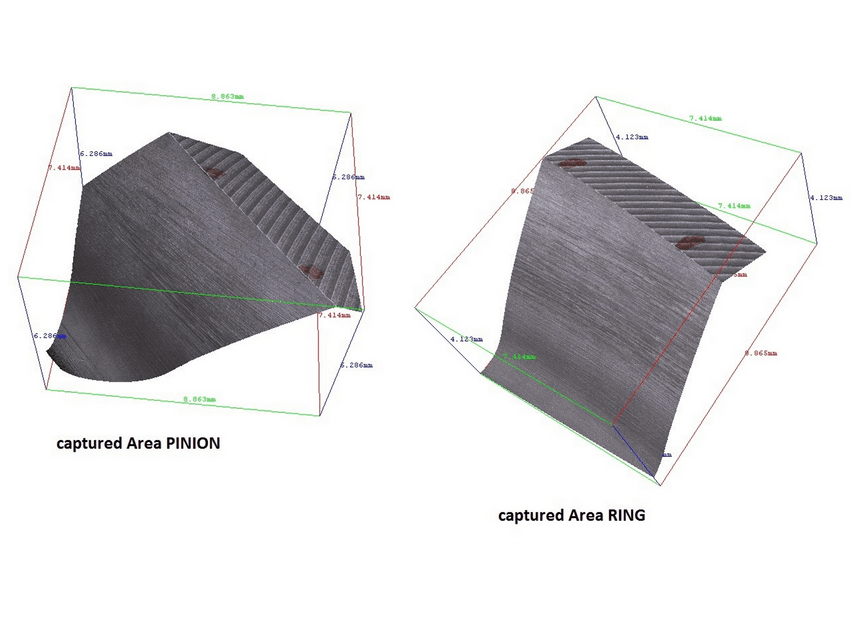
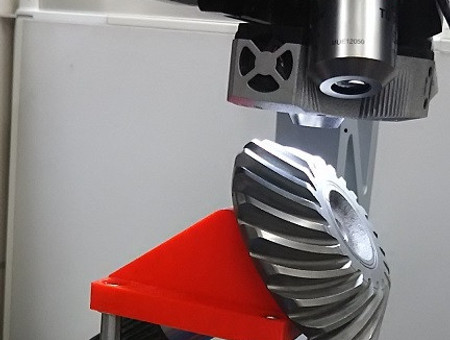
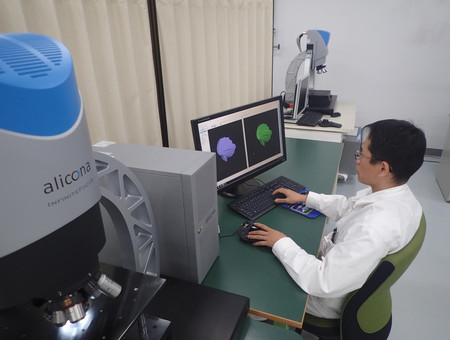
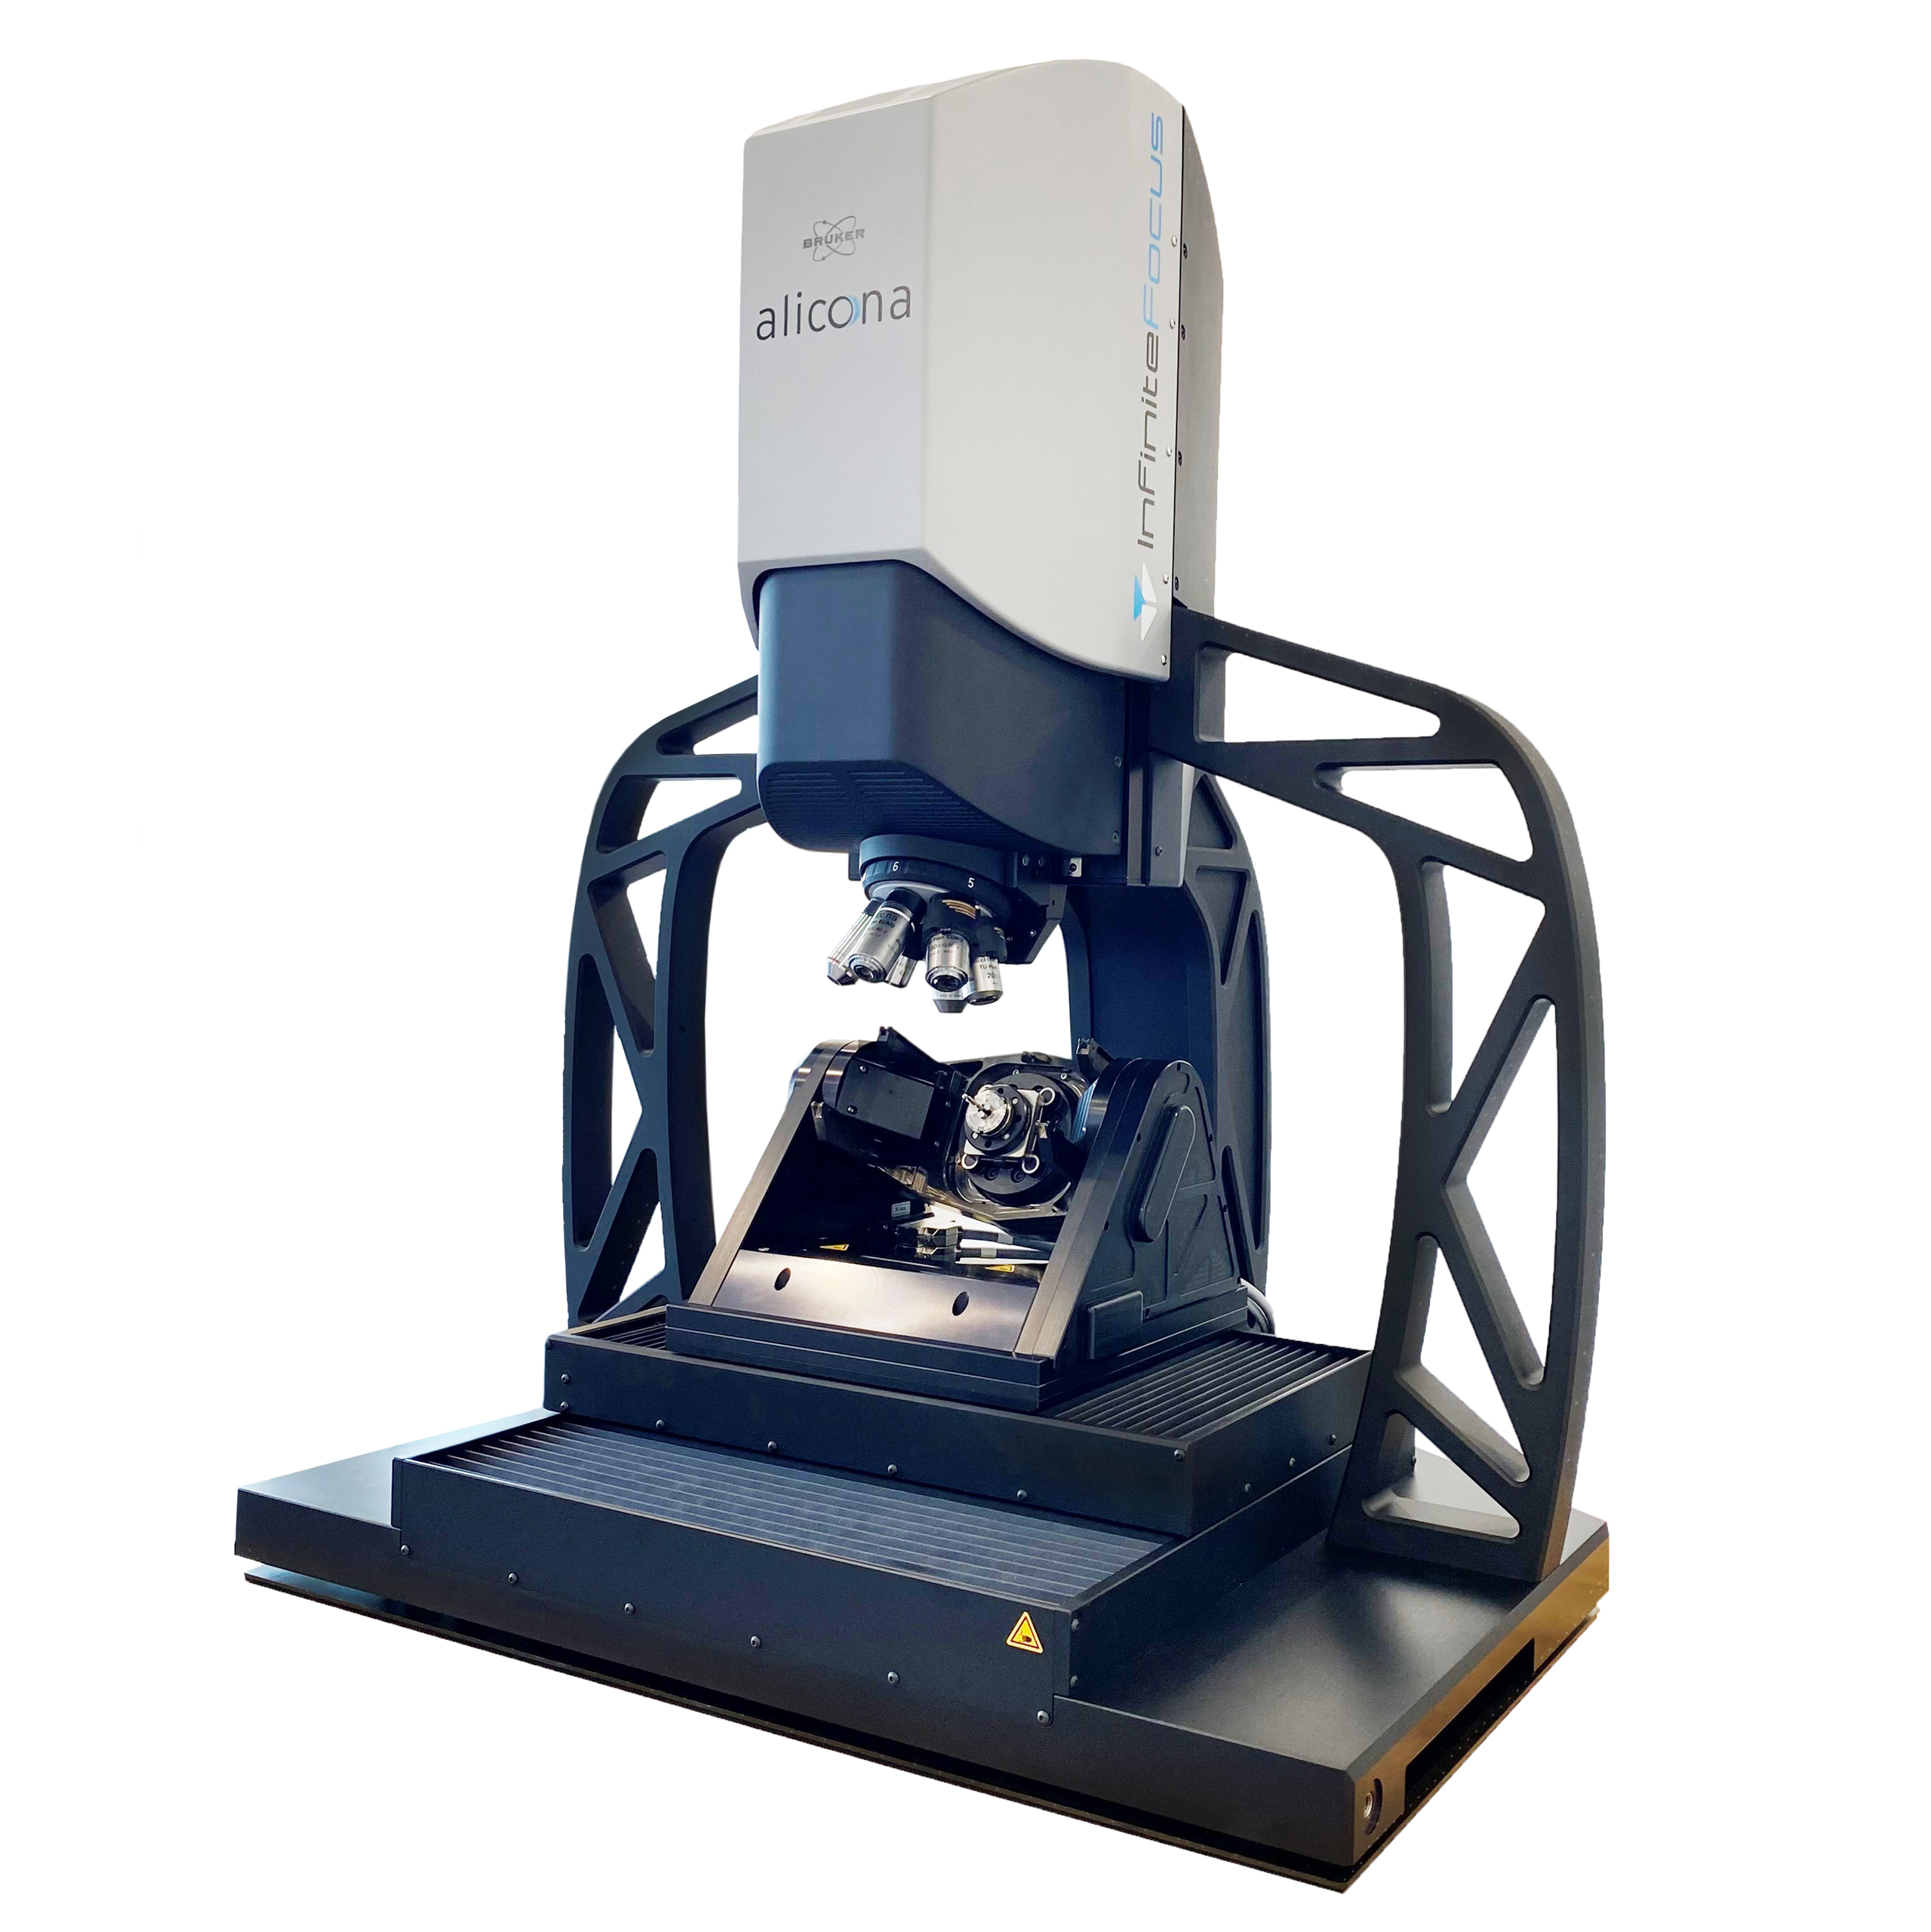
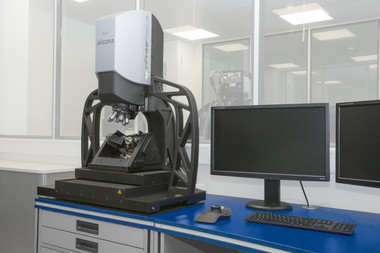
Hypoid gears are particularly challenging in terms of low noise levels because they are high-frequency and therefore tend to transmit vibrations and sound radiation, which in turn leads to unpleasant noise development in the vehicle interior. To find the origin of the gear noise, Honda uses the high-resolution measuring instrument InfiniteFocus from Bruker Alicona. The form and roughness measuring system is the ideal solution for the automotive group for several reasons: On the one hand, it also measures steep flanks in high resolution, and on the other hand, it allows the filtering of roughness and waviness based on dense, high-resolution and areal 3D data.
How Honda succeeds with Bruker Alicona solution
InfiniteFocus
Dimensional accuracy & surface finish measurement
- Accurate, fast and universal optical 3D measuring instrument for tolerances in the µm and sub-µm range
- Components are measured area-based and with high resolution independent of size, material, geometry, weight and surface finish
- A number of proven and new features combine the functionalities of a roughness measuring system (Ra, Rq, Rz/Sa, Sq, Sz) with the characteristics of a coordinate measuring machine

